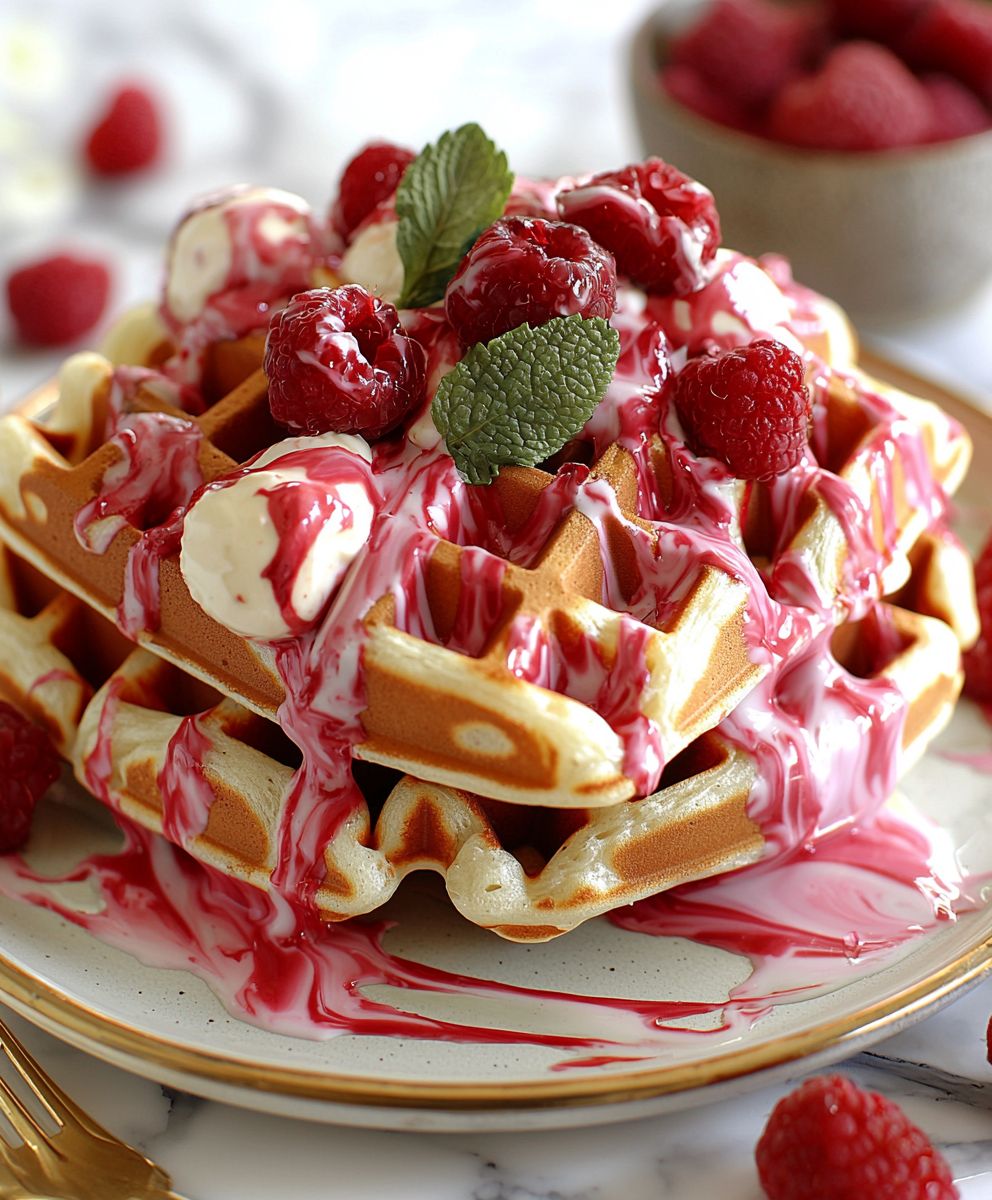
Red Velvet Marble Waffles are not just a breakfast item; they are a delightful experience that brings a touch of elegance to your morning routine. The rich, velvety texture combined with the striking marbled appearance makes these waffles a feast for both the eyes and the palate. Originating from the beloved red velvet cake, this recipe transforms a classic dessert into a breakfast favorite, allowing you to indulge in the flavors of cocoa and buttermilk any time of day.
People adore Red Velvet Marble Waffles for their unique taste and the way they effortlessly blend the sweetness of chocolate with a hint of tanginess. The convenience of whipping up a batch in your waffle maker means you can enjoy this gourmet treat without the fuss. Whether you’re hosting a brunch or simply treating yourself, these waffles are sure to impress. Join me as we dive into this delicious recipe that will elevate your breakfast game and leave you craving more!
Ingredients:
- 2 cups all-purpose flour
- 2 tablespoons cocoa powder
- 1 tablespoon baking powder
- 1/2 teaspoon baking soda
- 1/2 teaspoon salt
- 1 1/2 cups buttermilk
- 1/2 cup granulated sugar
- 1/2 cup vegetable oil
- 2 large eggs
- 1 teaspoon vanilla extract
- 1 tablespoon red food coloring
- 1/2 cup cream cheese, softened
- 1/4 cup powdered sugar
- 1 teaspoon vanilla extract (for cream cheese mixture)
- Butter or non-stick spray (for waffle iron)
Preparing the Batter
- In a large mixing bowl, combine the all-purpose flour, cocoa powder, baking powder, baking soda, and salt. Whisk these dry ingredients together until they are well blended. This will ensure that the leavening agents are evenly distributed throughout the flour.
- In another bowl, whisk together the buttermilk, granulated sugar, vegetable oil, eggs, vanilla extract, and red food coloring. Make sure to mix these ingredients thoroughly until the sugar is dissolved and the mixture is smooth. The red food coloring is what gives our waffles that beautiful red velvet hue!
- Gradually pour the wet ingredients into the dry ingredients, stirring gently with a spatula or wooden spoon. Be careful not to overmix; it’s okay if there are a few lumps. Overmixing can lead to tough waffles, and we want them to be light and fluffy!
Preparing the Cream Cheese Mixture
- In a small bowl, combine the softened cream cheese, powdered sugar, and vanilla extract. Using a hand mixer or a whisk, beat the mixture until it is smooth and creamy. This will be our delicious topping for the waffles.
- If the cream cheese mixture is too thick, you can add a splash of milk to reach your desired consistency. It should be spreadable but not runny.
Cooking Process
- Preheat your waffle iron according to the manufacturer’s instructions. If your waffle iron requires it, lightly grease the plates with butter or non-stick spray to prevent sticking.
- Once the waffle iron is hot, pour about 1/2 cup of the red velvet batter onto the center of the waffle iron. Be careful not to overfill, as the batter will spread when you close the lid.
- Next, take a spoonful of the cream cheese mixture and drop it in the center of the red velvet batter. Use a toothpick or a skewer to gently swirl the cream cheese into the batter, creating a marbled effect. This is what makes our waffles so visually appealing!
- Close the waffle iron and cook according to the manufacturer’s instructions, usually about 4-5 minutes, or until the waffles are golden brown and cooked through. You can check for doneness by carefully lifting the lid; the waffles should release easily from the iron.
- Once cooked, carefully remove the waffles and place them on a wire rack to cool slightly. This will help prevent them from becoming soggy.
- Repeat the process with the remaining batter and cream cheese mixture, greasing the waffle iron as needed.
Assembling and Serving
- Once all the waffles are cooked, it’s time to serve! You can stack them on a plate or serve them individually.
- For an extra touch, drizzle some maple syrup or chocolate sauce over the top of the waffles. You can also add fresh berries, whipped cream, or a dusting of powdered sugar for garnish.
- Don’t forget to add a dollop of the remaining cream cheese mixture on top of each waffle for that creamy, tangy flavor that pairs perfectly with the sweet red velvet!
- Enjoy your delicious red velvet marble waffles with family and friends. They make for a perfect brunch treat or a special breakfast on a cozy weekend morning!
Tips for Perfect Waffles
Conclusion:
In summary, these Red Velvet Marble Waffles are an absolute must-try for anyone looking to elevate their breakfast game or impress guests at brunch. The striking red and white swirls not only make for a visually stunning dish but also deliver a delightful combination of flavors that are sure to please both kids and adults alike. The rich cocoa flavor paired with the subtle sweetness of the cream cheese batter creates a unique taste experience that you won’t find in your average waffle recipe. For serving suggestions, I recommend topping these waffles with a dollop of whipped cream, a drizzle of maple syrup, or even a sprinkle of powdered sugar for that extra touch of sweetness. You can also get creative by adding fresh berries, chocolate chips, or even a scoop of vanilla ice cream for a decadent dessert twist. If you’re feeling adventurous, try swapping out the cream cheese for flavored yogurt or adding a hint of peppermint extract for a festive flair. I encourage you to give this Red Velvet Marble Waffles recipe a try and share your experience with friends and family. Whether you’re enjoying them on a cozy weekend morning or serving them at a special occasion, I promise they will be a hit! Don’t forget to snap a photo and tag me on social media—I’d love to see your delicious creations! Happy cooking! Print
Red Velvet Marble Waffles: A Delicious Twist on a Classic Breakfast Treat
- Total Time: 35 minutes
- Yield: 6–8 waffles 1x
Description
Indulge in the delightful flavors of Red Velvet Marble Waffles, featuring a rich cocoa batter swirled with a creamy cream cheese mixture. Perfect for brunch or a special breakfast, these visually stunning waffles are irresistibly delicious!
Ingredients
- 2 cups all-purpose flour
- 2 tablespoons cocoa powder
- 1 tablespoon baking powder
- 1/2 teaspoon baking soda
- 1/2 teaspoon salt
- 1 1/2 cups buttermilk
- 1/2 cup granulated sugar
- 1/2 cup vegetable oil
- 2 large eggs
- 1 teaspoon vanilla extract
- 1 tablespoon red food coloring
- 1/2 cup cream cheese, softened
- 1/4 cup powdered sugar
- 1 teaspoon vanilla extract (for cream cheese mixture)
- Butter or non-stick spray (for waffle iron)
Instructions
- In a large mixing bowl, combine the all-purpose flour, cocoa powder, baking powder, baking soda, and salt. Whisk these dry ingredients together until well blended.
- In another bowl, whisk together the buttermilk, granulated sugar, vegetable oil, eggs, vanilla extract, and red food coloring until smooth.
- Gradually pour the wet ingredients into the dry ingredients, stirring gently with a spatula or wooden spoon. Avoid overmixing; a few lumps are okay.
- In a small bowl, combine the softened cream cheese, powdered sugar, and vanilla extract. Beat until smooth and creamy.
- If too thick, add a splash of milk to reach desired consistency.
- Preheat your waffle iron according to the manufacturer’s instructions and lightly grease the plates if necessary.
- Pour about 1/2 cup of the red velvet batter onto the center of the waffle iron.
- Drop a spoonful of the cream cheese mixture in the center of the batter and swirl gently with a toothpick.
- Close the waffle iron and cook for about 4-5 minutes, or until golden brown.
- Carefully remove the waffles and place them on a wire rack to cool slightly.
- Repeat with the remaining batter and cream cheese mixture.
- Stack or serve the waffles individually.
- Drizzle with maple syrup or chocolate sauce, and garnish with fresh berries, whipped cream, or powdered sugar.
- Add a dollop of the remaining cream cheese mixture on top of each waffle.
- Enjoy with family and friends!
Notes
- Ensure not to overmix the batter to keep the waffles light and fluffy.
- Customize toppings based on your preference for a personalized touch.
- Prep Time: 15 minutes
- Cook Time: 20 minutes


