
No-Bake Summer Cheesecake is the perfect dessert to beat the heat while satisfying your sweet tooth. As the warm sun beckons us outdoors, this delightful treat offers a refreshing escape with its creamy texture and vibrant flavors. Originating from the classic cheesecake, this no-bake version has gained popularity for its simplicity and convenience, making it a favorite among home bakers and dessert lovers alike. I love how this recipe allows me to whip up a delicious dessert without the need for an oven, which is especially appealing during those sweltering summer months. The combination of rich cream cheese, zesty citrus, and a buttery graham cracker crust creates a harmonious balance that leaves everyone craving more. Whether you’re hosting a backyard barbecue or enjoying a quiet evening at home, No-Bake Summer Cheesecake is sure to impress your guests and elevate your dessert game.

Ingredients:
- For the crust:
- 1 ½ cups graham cracker crumbs
- ½ cup unsalted butter, melted
- ¼ cup granulated sugar
- 1 teaspoon vanilla extract
- For the cheesecake filling:
- 16 oz cream cheese, softened
- 1 cup powdered sugar
- 1 teaspoon vanilla extract
- 1 cup heavy whipping cream
- 1 cup fresh fruit (strawberries, blueberries, or peaches), chopped
- For the topping:
- 1 cup fresh fruit (for garnish)
- Mint leaves (optional, for garnish)
Preparing the Crust
- In a medium mixing bowl, combine the graham cracker crumbs, melted butter, granulated sugar, and vanilla extract. Stir until the mixture resembles wet sand.
- Press the mixture firmly into the bottom of a 9-inch springform pan. Make sure to pack it tightly and evenly to create a solid base for your cheesecake.
- Once the crust is evenly pressed, place the pan in the refrigerator to chill while you prepare the cheesecake filling. This will help the crust set and hold its shape.
Preparing the Cheesecake Filling
- In a large mixing bowl, beat the softened cream cheese with an electric mixer on medium speed until smooth and creamy. This should take about 2-3 minutes.
- Gradually add the powdered sugar and continue to beat until fully incorporated and there are no lumps. Scrape down the sides of the bowl as needed.
- Add the vanilla extract and mix until combined.
- In a separate bowl, whip the heavy cream until stiff peaks form. This usually takes about 3-5 minutes with an electric mixer on high speed.
- Gently fold the whipped cream into the cream cheese mixture using a spatula. Be careful not to deflate the whipped cream; you want to keep the filling light and airy.
- Once the whipped cream is fully incorporated, gently fold in the chopped fresh fruit. This adds a burst of flavor and color to your cheesecake filling.
Assembling the Cheesecake
- Remove the crust from the refrigerator. Spoon the cheesecake filling over the crust, spreading it evenly with a spatula.
- Once the filling is spread evenly, smooth the top with the spatula. You can create a decorative swirl if you like!
- Cover the cheesecake with plastic wrap or aluminum foil and return it to the refrigerator. Let it chill for at least 4 hours, or preferably overnight. This allows the cheesecake to set properly.
Preparing the Topping
- While the cheesecake is chilling, you can prepare your topping. Wash and slice any additional fresh fruit you want to use for garnish. Strawberries, blueberries, and peaches work wonderfully.
- If you want to add a touch of elegance, you can also prepare a simple fruit glaze by heating 1 cup of fruit preserves in a small saucepan over low heat until melted. Allow it to cool slightly before using it as a drizzle over the cheesecake.
Serving the Cheesecake
- Once the cheesecake has set, carefully remove the sides of the springform pan. You can run a knife around the edge to help release it if needed.
- Transfer the cheesecake to a serving platter. If you used a regular pie dish, simply slice it into wedges while it’s still in the dish.
- Top the cheesecake with the fresh fruit you prepared earlier. You can arrange it in a decorative pattern or simply scatter it on top for a more casual look.
- If you made a fruit glaze, drizzle it over the top of the cheesecake for added sweetness and shine.
- For an extra touch, garnish with fresh mint leaves for a pop of color and freshness.
Storing Leftovers
-
<
- Total Time: 270 minutes
- Yield: 8–10 servings 1x
- 1 ½ cups graham cracker crumbs
- ½ cup unsalted butter, melted
- ¼ cup granulated sugar
- 1 teaspoon vanilla extract
- 16 oz cream cheese, softened
- 1 cup powdered sugar
- 1 teaspoon vanilla extract
- 1 cup heavy whipping cream
- 1 cup fresh fruit (strawberries, blueberries, or peaches), chopped
- 1 cup fresh fruit (for garnish)
- Mint leaves (optional, for garnish)
- In a medium mixing bowl, combine the graham cracker crumbs, melted butter, granulated sugar, and vanilla extract. Stir until the mixture resembles wet sand.
- Press the mixture firmly into the bottom of a 9-inch springform pan. Make sure to pack it tightly and evenly to create a solid base for your cheesecake.
- Once the crust is evenly pressed, place the pan in the refrigerator to chill while you prepare the cheesecake filling.
- In a large mixing bowl, beat the softened cream cheese with an electric mixer on medium speed until smooth and creamy (about 2-3 minutes).
- Gradually add the powdered sugar and continue to beat until fully incorporated and there are no lumps. Scrape down the sides of the bowl as needed.
- Add the vanilla extract and mix until combined.
- In a separate bowl, whip the heavy cream until stiff peaks form (about 3-5 minutes on high speed).
- Gently fold the whipped cream into the cream cheese mixture using a spatula, being careful not to deflate the whipped cream.
- Once fully incorporated, gently fold in the chopped fresh fruit.
- Remove the crust from the refrigerator and spoon the cheesecake filling over it, spreading it evenly with a spatula.
- Smooth the top with the spatula, creating a decorative swirl if desired.
- Cover with plastic wrap or aluminum foil and return to the refrigerator. Chill for at least 4 hours, preferably overnight.
- While the cheesecake is chilling, wash and slice any additional fresh fruit for garnish.
- Optionally, prepare a fruit glaze by heating 1 cup of fruit preserves in a small saucepan over low heat until melted. Allow it to cool slightly before using it as a drizzle over the cheesecake.
- Once set, carefully remove the sides of the springform pan. Run a knife around the edge if needed.
- Transfer to a serving platter. If using a pie dish, slice into wedges while still in the dish.
- Top with the prepared fresh fruit, arranging it decoratively or scattering it casually.
- Drizzle with fruit glaze if made, and garnish with fresh mint leaves for added color.
- For best results, allow the cheesecake to chill overnight for a firmer texture.
- Feel free to customize the fruit based on your preference or seasonal availability.
- Prep Time: 30 minutes
- Cook Time: 0 minutes
Conclusion:
In summary, this No-Bake Summer Cheesecake is an absolute must-try for anyone looking to indulge in a light, refreshing dessert that perfectly captures the essence of summer. With its creamy texture and delightful flavors, it’s the ideal treat for warm days when you want something sweet without the hassle of turning on the oven. Plus, the versatility of this recipe means you can easily customize it to suit your taste—whether you prefer a classic berry topping, a zesty citrus twist, or even a decadent chocolate drizzle, the possibilities are endless! I highly recommend serving this cheesecake chilled, garnished with fresh fruit or a dollop of whipped cream for that extra touch of elegance. You can also experiment with different crusts, such as a graham cracker, Oreo, or even a nut-based crust for a gluten-free option. Each variation brings its own unique flair to the dish, making it a fun and creative endeavor in the kitchen. I encourage you to give this No-Bake Summer Cheesecake a try and share your experience with friends and family. Whether you’re hosting a summer gathering, celebrating a special occasion, or simply treating yourself, this cheesecake is sure to impress. Don’t forget to snap a photo and tag me when you do—I can’t wait to see how your version turns out! Happy baking (or should I say, no-baking)! Print
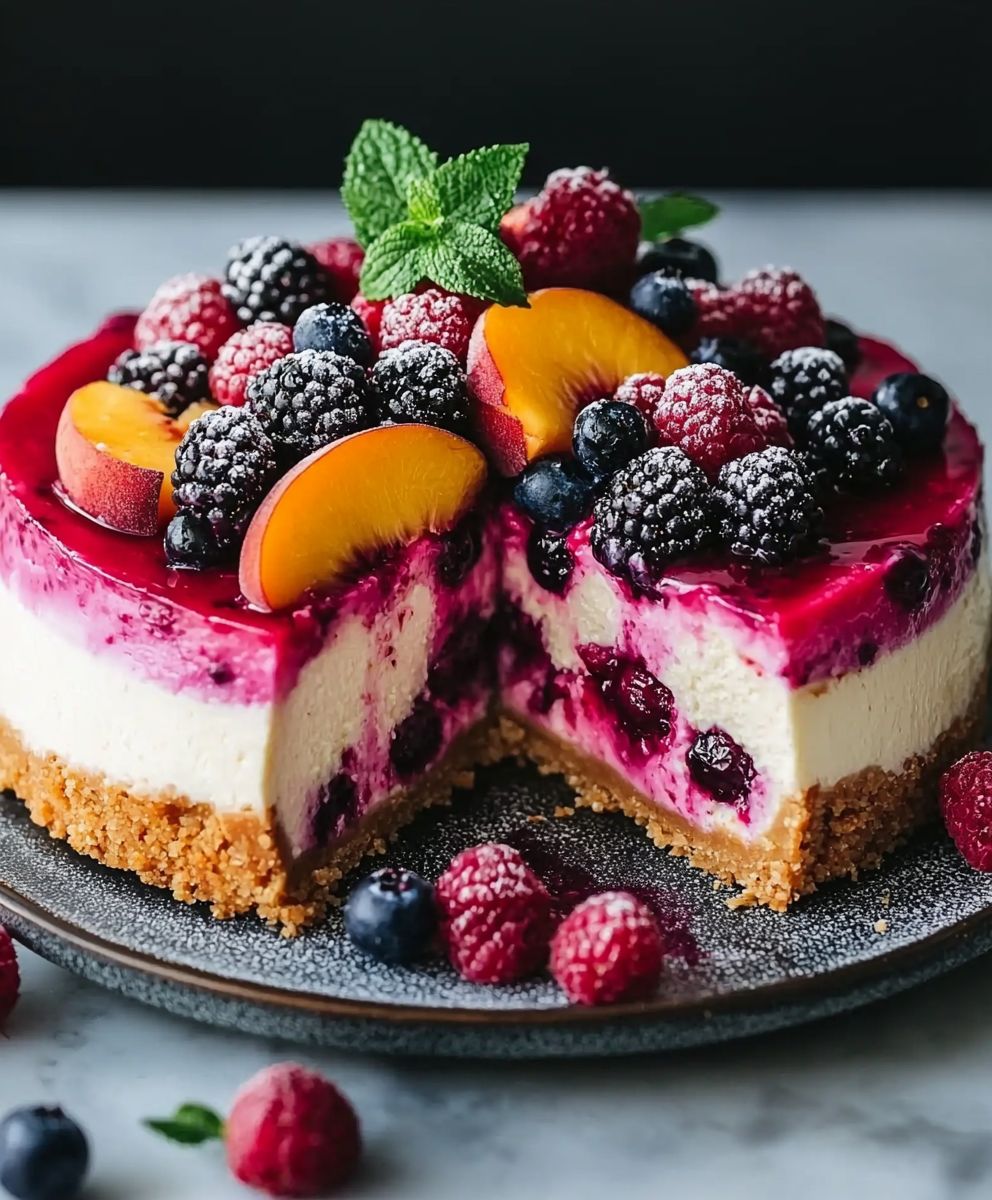
No-Bake Summer Cheesecake: The Perfect Refreshing Dessert for Hot Days
Description
This no-bake cheesecake features a buttery graham cracker crust and a creamy filling with fresh fruit, topped with seasonal berries. It’s light, refreshing, and easy to make, making it perfect for any occasion. Enjoy a delightful dessert that requires no baking and can be customized with your favorite fruits!