
Easy Garlic Bread Rolls, warm from the oven, are the ultimate comfort food, and I’m thrilled to share my foolproof recipe with you! Imagine sinking your teeth into a soft, pillowy roll, bursting with savory garlic butter that melts in your mouth. Is your stomach rumbling yet? Mine is!
Garlic bread, in its various forms, has been a beloved accompaniment to meals for centuries. While its exact origins are debated, the concept of flavoring bread with garlic and oil dates back to ancient civilizations. Over time, it evolved into the garlicky, buttery delight we know and love today. These easy garlic bread rolls take that classic flavor profile and elevate it to a new level of deliciousness.
What makes these rolls so irresistible? It’s the perfect combination of textures – a slightly crisp exterior giving way to a soft, airy interior. The rich, garlicky butter permeates every nook and cranny, creating an explosion of flavor with each bite. Plus, they’re incredibly easy to make, requiring minimal effort and readily available ingredients. Whether you’re serving them alongside pasta, soup, or simply enjoying them as a snack, these garlic bread rolls are guaranteed to be a crowd-pleaser. Get ready to experience garlic bread bliss!

Ingredients:
- 1 package (0.25 ounce) active dry yeast
- 1/4 cup warm water (105-115°F)
- 1 cup warm milk (105-115°F)
- 1/4 cup granulated sugar
- 1 teaspoon salt
- 1/4 cup melted unsalted butter, plus more for brushing
- 1 large egg
- 3 1/4 – 3 3/4 cups all-purpose flour, plus more for dusting
Garlic Butter Topping:
- 1/2 cup unsalted butter, softened
- 4 cloves garlic, minced
- 1/4 cup chopped fresh parsley
- 1/4 teaspoon garlic powder
- 1/4 teaspoon salt
- 1/8 teaspoon black pepper
Instructions:
Preparing the Dough:
- Activate the Yeast: In a small bowl, dissolve the yeast in the 1/4 cup of warm water. Make sure the water isn’t too hot, or it will kill the yeast. Let it stand for 5-10 minutes, or until foamy. This indicates that the yeast is active and ready to use. If it doesn’t foam, your yeast might be old and you’ll need to get a fresh batch.
- Combine Wet Ingredients: In a large mixing bowl (or the bowl of your stand mixer), combine the warm milk, sugar, salt, and the 1/4 cup of melted butter. Stir until the sugar and salt are dissolved.
- Add Yeast Mixture and Egg: Add the proofed yeast mixture and the egg to the wet ingredients. Whisk everything together until well combined.
- Gradually Add Flour: Gradually add the flour, one cup at a time, to the wet ingredients. If using a stand mixer, use the dough hook attachment. If mixing by hand, stir with a wooden spoon until a shaggy dough forms.
- Knead the Dough: If using a stand mixer, knead the dough on medium speed for 6-8 minutes, adding more flour, one tablespoon at a time, if the dough is too sticky. The dough should be smooth and elastic, but still slightly tacky. If kneading by hand, turn the dough out onto a lightly floured surface and knead for 8-10 minutes, adding flour as needed to prevent sticking.
- First Rise: Place the dough in a lightly greased bowl, turning to coat all sides. Cover the bowl with plastic wrap or a clean kitchen towel. Let the dough rise in a warm place for 1-1.5 hours, or until doubled in size. This is a crucial step, so be patient! A warm environment helps the yeast do its job.
Shaping the Rolls:
- Punch Down the Dough: Once the dough has doubled, gently punch it down to release the air. Turn the dough out onto a lightly floured surface.
- Divide the Dough: Divide the dough into 12 equal pieces. I like to use a kitchen scale to ensure they are all the same size, but you can also eyeball it.
- Shape into Rolls: Roll each piece of dough into a smooth ball. You can do this by cupping your hand over the dough and rolling it in a circular motion on the counter.
- Arrange on Baking Sheet: Place the rolls on a baking sheet lined with parchment paper or a silicone baking mat. Leave about an inch of space between each roll.
- Second Rise: Cover the rolls with plastic wrap or a clean kitchen towel and let them rise in a warm place for another 30-45 minutes, or until they have puffed up slightly.
Preparing the Garlic Butter Topping:
- Combine Ingredients: While the rolls are rising for the second time, prepare the garlic butter topping. In a medium bowl, combine the softened butter, minced garlic, chopped parsley, garlic powder, salt, and pepper.
- Mix Well: Mix all the ingredients together until well combined and creamy. The butter should be soft enough to spread easily.
Baking the Rolls:
- Preheat Oven: Preheat your oven to 375°F (190°C).
- Brush with Garlic Butter: Once the rolls have finished their second rise, brush the tops generously with the garlic butter topping. Make sure to get every nook and cranny!
- Bake: Bake the rolls in the preheated oven for 15-20 minutes, or until they are golden brown on top. Keep an eye on them, as oven temperatures can vary.
- Optional: Brush with More Butter: Once the rolls are out of the oven, you can brush them with a little more melted butter for extra shine and flavor.
- Cool Slightly: Let the rolls cool on the baking sheet for a few minutes before transferring them to a wire rack to cool completely.
Serving:
- Serve Warm: These garlic bread rolls are best served warm, straight from the oven.
- Enjoy! Enjoy these delicious, homemade garlic bread rolls with your favorite meal or as a tasty snack. They are perfect with pasta, soup, or salad.
Tips and Variations:
- Cheese: Add shredded Parmesan cheese or mozzarella cheese to the garlic butter topping for extra cheesy garlic bread rolls.
- Herbs: Experiment with different herbs in the garlic butter topping, such as oregano, basil, or thyme.
- Spicy: Add a pinch of red pepper flakes to the garlic butter topping for a little kick.
- Make Ahead: You can prepare the dough ahead of time and store it in the refrigerator for up to 24 hours. Let it come to room temperature before shaping and baking.
- Freezing: Baked garlic bread rolls can be frozen for up to 2 months. Wrap them tightly in plastic wrap and then in foil. Thaw completely before reheating in the oven.
- Garlic Infusion: For a more intense garlic flavor, you can infuse the butter with garlic before making the topping. Heat the butter in a saucepan over low heat with the minced garlic. Let it simmer for a few minutes, then strain the butter through a fine-mesh sieve to remove the garlic solids. Let the infused butter cool slightly before using it in the topping.
- Using Instant Yeast: If you’re using instant yeast (also known as rapid-rise yeast), you can skip the proofing step and add the yeast directly to the dry ingredients. Follow the package instructions for the correct amount to use.
- Egg Wash: For a shinier crust, you can brush the rolls with an egg wash (1 egg beaten with 1 tablespoon of water) before baking.
- Storing Leftovers: Store leftover garlic bread rolls in an airtight container at room temperature for up to 2 days. Reheat in the oven or microwave before serving.
- Serving Suggestions: These garlic bread rolls are a great accompaniment to Italian dishes like spaghetti and meatballs, lasagna, or chicken parmesan. They also pair well with soups, stews, and salads. You can even use them to make mini sandwiches or sliders.
- Doneness Check: To ensure the rolls are fully baked, insert a toothpick into the center of one of the rolls. If the toothpick comes out clean, the rolls are done. If the toothpick has wet dough on it, continue baking for a few more minutes.
- Preventing Burning: If the rolls are browning too quickly, you can tent them with aluminum foil during the last few minutes of baking. This will help prevent them from burning.
Conclusion:
These Easy Garlic Bread Rolls are truly a game-changer, and I wholeheartedly believe you need to experience their warm, garlicky goodness firsthand. They’re not just bread; they’re an experience, a comforting hug in every bite, and a guaranteed crowd-pleaser. From the simple preparation to the incredible aroma that fills your kitchen as they bake, this recipe is designed for success, even if you’re a beginner baker. The soft, pillowy texture combined with the savory garlic butter creates a symphony of flavors that will leave you craving more.
But what truly sets these rolls apart is their versatility. While they’re absolutely divine served warm straight from the oven, slathered with extra butter (because, why not?), there are so many ways to elevate them even further. Imagine serving them alongside a hearty bowl of pasta, soaking up every last drop of that delicious sauce. Or perhaps as an accompaniment to a grilled steak or chicken, adding a touch of rustic charm to your meal.
And don’t be afraid to get creative with variations! For a cheesy twist, sprinkle some shredded mozzarella or parmesan cheese on top before baking. If you’re feeling adventurous, add a pinch of red pepper flakes to the garlic butter for a subtle kick. You could even incorporate some fresh herbs like parsley, rosemary, or thyme for an extra layer of flavor. Think about adding sun-dried tomatoes or olives for a Mediterranean flair. The possibilities are truly endless!
These rolls are also perfect for gatherings. They’re easy to make ahead of time and reheat, making them ideal for potlucks, barbecues, or holiday dinners. Imagine the smiles on your friends’ and family’s faces as they bite into these warm, fragrant delights. They’ll be begging you for the recipe!
I’ve poured my heart into perfecting this recipe, and I’m confident that you’ll love it as much as I do. It’s more than just a recipe; it’s a way to create memories, to share joy, and to bring people together through the simple pleasure of good food.
So, what are you waiting for? Gather your ingredients, preheat your oven, and get ready to embark on a culinary adventure. I promise you won’t regret it. And once you’ve tried these Easy Garlic Bread Rolls, I’d absolutely love to hear about your experience. Share your photos, your variations, and your stories in the comments below. Let’s create a community of garlic bread enthusiasts! I can’t wait to see what delicious creations you come up with. Happy baking!
Easy Garlic Bread Rolls: The Ultimate Recipe
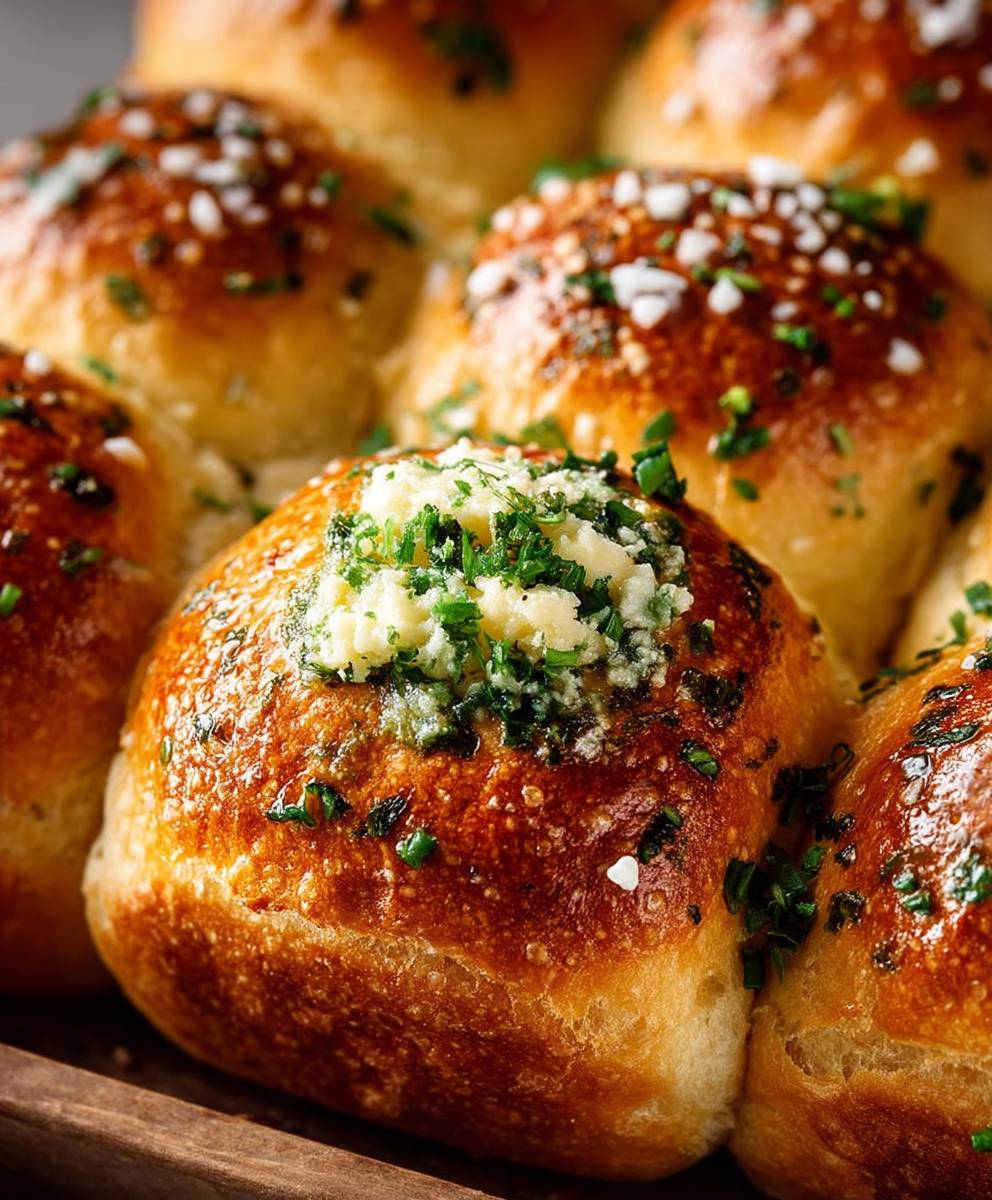
Soft, fluffy, and bursting with garlic butter flavor, these homemade garlic bread rolls are the perfect addition to any meal!
Ingredients
- 1 package (0.25 ounce) active dry yeast
- 1/4 cup warm water (105-115°F)
- 1 cup warm milk (105-115°F)
- 1/4 cup granulated sugar
- 1 teaspoon salt
- 1/4 cup melted unsalted butter, plus more for brushing
- 1 large egg
- 3 1/4 – 3 3/4 cups all-purpose flour, plus more for dusting
- 1/2 cup unsalted butter, softened
- 4 cloves garlic, minced
- 1/4 cup chopped fresh parsley
- 1/4 teaspoon garlic powder
- 1/4 teaspoon salt
- 1/8 teaspoon black pepper
Instructions
- Activate the Yeast: In a small bowl, dissolve the yeast in the 1/4 cup of warm water. Make sure the water isn’t too hot, or it will kill the yeast. Let it stand for 5-10 minutes, or until foamy. This indicates that the yeast is active and ready to use. If it doesn’t foam, your yeast might be old and you’ll need to get a fresh batch.
- Combine Wet Ingredients: In a large mixing bowl (or the bowl of your stand mixer), combine the warm milk, sugar, salt, and the 1/4 cup of melted butter. Stir until the sugar and salt are dissolved.
- Add Yeast Mixture and Egg: Add the proofed yeast mixture and the egg to the wet ingredients. Whisk everything together until well combined.
- Gradually Add Flour: Gradually add the flour, one cup at a time, to the wet ingredients. If using a stand mixer, use the dough hook attachment. If mixing by hand, stir with a wooden spoon until a shaggy dough forms.
- Knead the Dough: If using a stand mixer, knead the dough on medium speed for 6-8 minutes, adding more flour, one tablespoon at a time, if the dough is too sticky. The dough should be smooth and elastic, but still slightly tacky. If kneading by hand, turn the dough out onto a lightly floured surface and knead for 8-10 minutes, adding flour as needed to prevent sticking.
- First Rise: Place the dough in a lightly greased bowl, turning to coat all sides. Cover the bowl with plastic wrap or a clean kitchen towel. Let the dough rise in a warm place for 1-1.5 hours, or until doubled in size. This is a crucial step, so be patient! A warm environment helps the yeast do its job.
- Punch Down the Dough: Once the dough has doubled, gently punch it down to release the air. Turn the dough out onto a lightly floured surface.
- Divide the Dough: Divide the dough into 12 equal pieces. I like to use a kitchen scale to ensure they are all the same size, but you can also eyeball it.
- Shape into Rolls: Roll each piece of dough into a smooth ball. You can do this by cupping your hand over the dough and rolling it in a circular motion on the counter.
- Arrange on Baking Sheet: Place the rolls on a baking sheet lined with parchment paper or a silicone baking mat. Leave about an inch of space between each roll.
- Second Rise: Cover the rolls with plastic wrap or a clean kitchen towel and let them rise in a warm place for another 30-45 minutes, or until they have puffed up slightly.
- Combine Ingredients (Garlic Butter): While the rolls are rising for the second time, prepare the garlic butter topping. In a medium bowl, combine the softened butter, minced garlic, chopped parsley, garlic powder, salt, and pepper.
- Mix Well (Garlic Butter): Mix all the ingredients together until well combined and creamy. The butter should be soft enough to spread easily.
- Preheat Oven: Preheat your oven to 375°F (190°C).
- Brush with Garlic Butter: Once the rolls have finished their second rise, brush the tops generously with the garlic butter topping. Make sure to get every nook and cranny!
- Bake: Bake the rolls in the preheated oven for 15-20 minutes, or until they are golden brown on top. Keep an eye on them, as oven temperatures can vary.
- Optional: Brush with More Butter: Once the rolls are out of the oven, you can brush them with a little more melted butter for extra shine and flavor.
- Cool Slightly: Let the rolls cool on the baking sheet for a few minutes before transferring them to a wire rack to cool completely.
- Serve Warm: These garlic bread rolls are best served warm, straight from the oven.
- Enjoy! Enjoy these delicious, homemade garlic bread rolls with your favorite meal or as a tasty snack. They are perfect with pasta, soup, or salad.
Notes
- Add shredded Parmesan cheese or mozzarella cheese to the garlic butter topping for extra cheesy garlic bread rolls.
- Experiment with different herbs in the garlic butter topping, such as oregano, basil, or thyme.
- Add a pinch of red pepper flakes to the garlic butter topping for a little kick.
- You can prepare the dough ahead of time and store it in the refrigerator for up to 24 hours. Let it come to room temperature before shaping and baking.
- Baked garlic bread rolls can be frozen for up to 2 months. Wrap them tightly in plastic wrap and then in foil. Thaw completely before reheating in the oven.
- For a more intense garlic flavor, you can infuse the butter with garlic before making the topping. Heat the butter in a saucepan over low heat with the minced garlic. Let it simmer for a few minutes, then strain the butter through a fine-mesh sieve to remove the garlic solids. Let the infused butter cool slightly before using it in the topping.
- If you’re using instant yeast (also known as rapid-rise yeast), you can skip the proofing step and add the yeast directly to the dry ingredients. Follow the package instructions for the correct amount to use.
- For a shinier crust, you can brush the rolls with an egg wash (1 egg beaten with 1 tablespoon of water) before baking.
- Store leftover garlic bread rolls in an airtight container at room temperature for up to 2 days. Reheat in the oven or microwave before serving.
- These garlic bread rolls are a great accompaniment to Italian dishes like spaghetti and meatballs, lasagna, or chicken parmesan. They also pair well with soups, stews, and salads. You can even use them to make mini sandwiches or sliders.
- To ensure the rolls are fully baked, insert a toothpick into the center of one of the rolls. If the toothpick comes out clean, the rolls are done. If the toothpick has wet dough on it, continue baking for a few more minutes.
- If the rolls are browning too quickly, you can tent them with aluminum foil during the last few minutes of baking. This will help prevent them from burning.