
Dragon Fruit Ice Cream: Prepare to be captivated by a dessert that’s as visually stunning as it is refreshingly delicious! Have you ever craved a treat that not only tantalizes your taste buds but also adds a vibrant pop of color to your day? This recipe is your answer.
While dragon fruit, also known as pitaya, doesn’t have a long, storied history in traditional ice cream making, its recent surge in popularity has made it a star ingredient in modern culinary creations. Originating in Central America, this exotic fruit has spread across the globe, celebrated for its unique appearance and subtle sweetness. Its vibrant pink flesh, speckled with tiny black seeds, makes it a natural choice for creating eye-catching desserts.
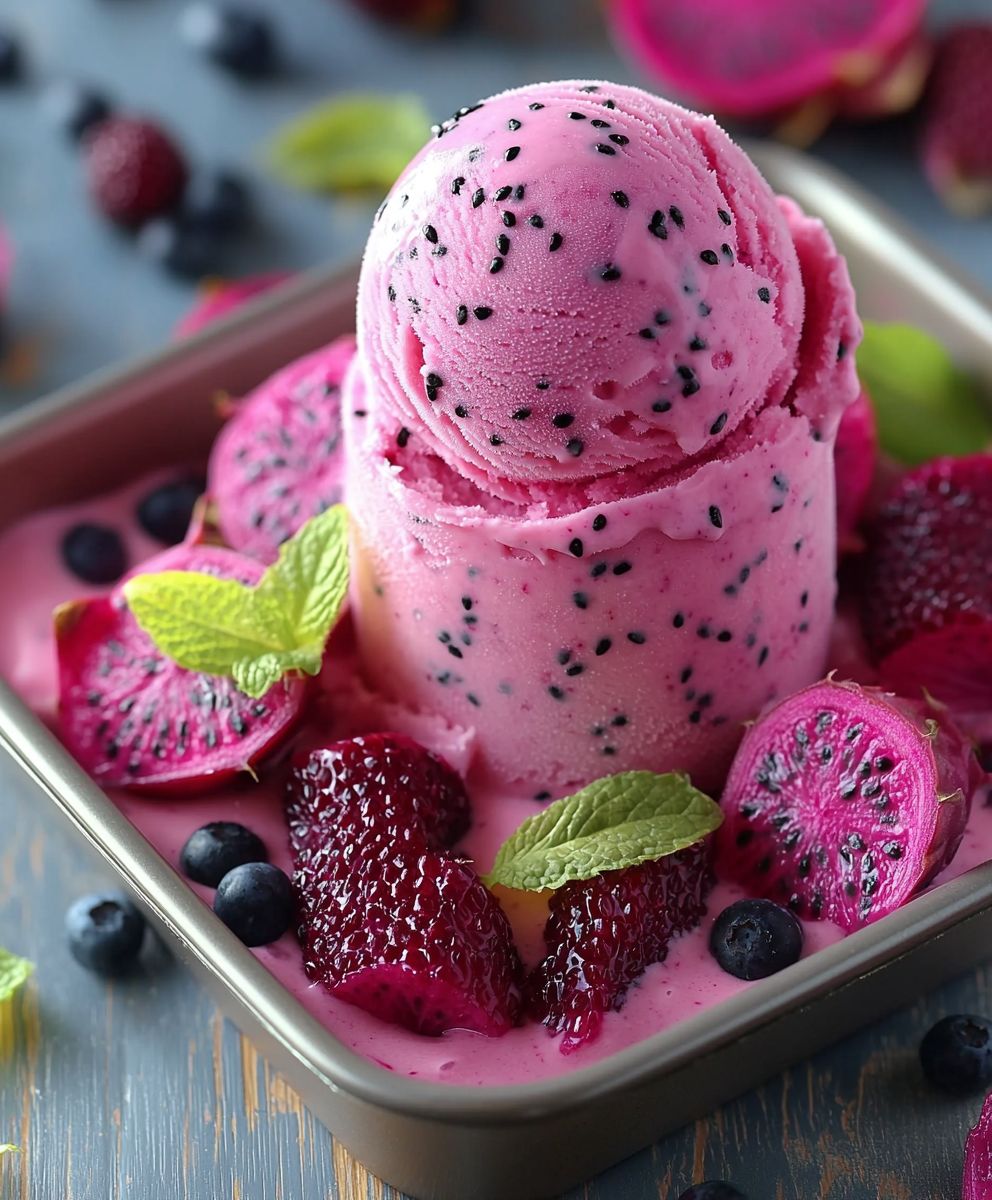
People adore Dragon Fruit Ice Cream for several reasons. First, its mild, slightly sweet flavor is incredibly refreshing, especially on a hot day. Second, the creamy texture, combined with the slight crunch of the seeds, offers a delightful sensory experience. And finally, let’s be honest, its stunning pink hue makes it an Instagram-worthy masterpiece! This recipe is incredibly easy to make at home, requiring minimal ingredients and no special equipment. Get ready to impress your friends and family with this vibrant and healthy frozen treat!

Ingredients:
- 2 cups frozen dragon fruit chunks (pink or white variety, or a mix!)
- 1 cup heavy cream
- ½ cup whole milk
- ½ cup granulated sugar (adjust to taste, depending on the sweetness of your dragon fruit)
- 1 tablespoon lemon juice (enhances the flavor and prevents excessive crystallization)
- 1 teaspoon vanilla extract (optional, but adds a lovely depth of flavor)
- Pinch of sea salt (balances the sweetness)
- Optional toppings: fresh dragon fruit, shredded coconut, chocolate shavings, whipped cream
Preparing the Dragon Fruit Base
- Thaw the Dragon Fruit Slightly: Take your frozen dragon fruit chunks out of the freezer and let them sit at room temperature for about 5-10 minutes. You don’t want them completely thawed, just softened enough to be easily processed in your food processor or blender. This step is crucial for achieving a smooth and creamy texture. If the dragon fruit is too hard, it will be difficult to blend, and you might end up with icy bits in your final ice cream.
- Combine Ingredients in a Food Processor or Blender: In a high-powered food processor or blender, combine the slightly thawed dragon fruit chunks, heavy cream, whole milk, granulated sugar, lemon juice, vanilla extract (if using), and a pinch of sea salt. It’s important to use a high-powered appliance to ensure a smooth and consistent texture. If you’re using a regular blender, you might need to add a little more liquid (a tablespoon or two of milk) to help it blend properly.
- Blend Until Smooth: Pulse the mixture a few times to break up the dragon fruit chunks, then blend continuously until the mixture is completely smooth and creamy. This might take a few minutes, depending on the power of your appliance. Scrape down the sides of the bowl or blender jar as needed to ensure that all the ingredients are fully incorporated. The mixture should be a vibrant pink (or white, depending on the dragon fruit you used) and have a velvety texture.
- Taste and Adjust Sweetness: Once the mixture is smooth, taste it and adjust the sweetness to your liking. Dragon fruit can vary in sweetness, so you might need to add a little more sugar if it’s not sweet enough for your taste. Add sugar gradually, a tablespoon at a time, and blend again after each addition until you reach your desired sweetness level.
Churning the Ice Cream
- Chill the Mixture (Important!): Pour the dragon fruit mixture into a bowl, cover it with plastic wrap (pressing the wrap directly onto the surface to prevent a skin from forming), and refrigerate for at least 4 hours, or preferably overnight. This chilling step is absolutely crucial for achieving a smooth and creamy ice cream texture. Chilling allows the mixture to properly cool down, which helps the ice cream churn more effectively and prevents ice crystals from forming. Don’t skip this step!
- Prepare Your Ice Cream Maker: Follow the manufacturer’s instructions for your ice cream maker. Most ice cream makers require you to freeze the bowl for at least 24 hours before use. Make sure the bowl is completely frozen solid before you start churning. If the bowl isn’t cold enough, the ice cream won’t freeze properly.
- Churn the Ice Cream: Pour the chilled dragon fruit mixture into the prepared ice cream maker. Turn on the ice cream maker and churn according to the manufacturer’s instructions. The churning time will vary depending on your ice cream maker, but it usually takes about 20-30 minutes. The ice cream is ready when it has a soft-serve consistency.
- Check for Soft-Serve Consistency: The ice cream should be thick and creamy, but still soft enough to scoop easily. If it’s too soft, you can transfer it to a freezer-safe container and freeze it for a few more hours to firm it up.
Freezing and Serving
- Transfer to a Freezer-Safe Container: Once the ice cream has reached a soft-serve consistency, transfer it to a freezer-safe container. A loaf pan or a plastic container with a tight-fitting lid works well.
- Press Plastic Wrap onto the Surface: To prevent ice crystals from forming on the surface of the ice cream, press a piece of plastic wrap directly onto the surface before covering the container with a lid. This creates a barrier that prevents air from reaching the ice cream.
- Freeze for at Least 2-3 Hours: Freeze the ice cream for at least 2-3 hours, or until it’s firm enough to scoop. The longer you freeze it, the firmer it will become.
- Scoop and Serve: When you’re ready to serve, let the ice cream sit at room temperature for a few minutes to soften slightly. This will make it easier to scoop. Use an ice cream scoop to scoop the ice cream into bowls or cones.
- Add Toppings (Optional): Top with fresh dragon fruit chunks, shredded coconut, chocolate shavings, whipped cream, or any other toppings you like. Get creative and have fun!
Tips for the Best Dragon Fruit Ice Cream:
- Use High-Quality Ingredients: The quality of your ingredients will directly impact the flavor and texture of your ice cream. Use fresh, ripe dragon fruit and high-quality heavy cream and milk for the best results.
- Don’t Over-Churn: Over-churning can result in a grainy texture. Churn the ice cream until it reaches a soft-serve consistency, then transfer it to the freezer to firm up.
- Store Properly: Store your homemade dragon fruit ice cream in an airtight container in the freezer for up to 2 weeks. After that, the texture may start to deteriorate.
- Experiment with Flavors: Feel free to experiment with different flavors and add-ins. Try adding a splash of lime juice, a pinch of ginger, or some chopped nuts to your ice cream.
- Adjust Sugar to Taste: Dragon fruit varies in sweetness, so adjust the amount of sugar to your liking. Start with the recommended amount and add more as needed.
Troubleshooting:
- Ice Cream is Icy: This is usually caused by not chilling the mixture long enough or by over-churning. Make sure to chill the mixture for at least 4 hours, or preferably overnight, and don’t over-churn the ice cream.
- Ice Cream is Too Soft: This could be due to not freezing the ice cream maker bowl long enough or not freezing the ice cream long enough after churning. Make sure the bowl is completely frozen solid before you start churning, and freeze the ice cream for at least 2-3 hours after churning.
- Ice Cream is Grainy: This can be caused by over-churning or by using low-quality ingredients. Use high-quality ingredients and don’t over-churn the ice cream.
Variations:
- Dragon Fruit Sorbet: For a dairy-free option, substitute the heavy cream and milk with water or coconut milk. You may need to adjust the amount of sugar to compensate for the lack of richness from the dairy.
- Dragon Fruit and Mango Ice Cream: Add ½ cup of frozen mango chunks to the dragon fruit mixture for a tropical twist.
- Dragon Fruit and Coconut Ice Cream: Use coconut milk instead of whole milk and add ¼ cup of shredded coconut to the mixture.
- Dragon Fruit Swirl Ice Cream: Make a separate batch of raspberry or strawberry puree and swirl it into the dragon fruit ice cream before freezing.
Conclusion:
And there you have it! This Dragon Fruit Ice Cream recipe is truly a must-try for anyone looking to add a vibrant, healthy, and utterly delicious treat to their repertoire. Forget the artificial colors and flavors of store-bought ice cream; this recipe delivers a naturally sweet and subtly tangy experience that’s as good for you as it is satisfying. The beautiful pink hue alone makes it a showstopper, perfect for impressing guests or simply brightening up your day.
But the reasons to try this recipe extend beyond its stunning appearance. The dragon fruit itself is packed with antioxidants, vitamins, and fiber, making this ice cream a guilt-free indulgence. Plus, the simple ingredients and straightforward instructions mean that even novice ice cream makers can achieve perfect results. I promise, the hardest part is waiting for it to freeze!
Now, let’s talk serving suggestions and variations because the possibilities are endless! For a classic presentation, scoop the Dragon Fruit Ice Cream into bowls and top with fresh berries like raspberries, blueberries, or even more dragon fruit for an extra burst of flavor. A sprinkle of toasted coconut flakes adds a delightful textural contrast, while a drizzle of honey or agave nectar enhances the natural sweetness.
If you’re feeling adventurous, why not try some of these variations?
* Dragon Fruit Ice Cream Parfaits: Layer the ice cream with granola, yogurt, and fresh fruit in a tall glass for a beautiful and healthy parfait.
* Dragon Fruit Ice Cream Sandwiches: Sandwich scoops of the ice cream between homemade cookies or graham crackers for a fun and portable treat.
* Dragon Fruit Ice Cream Smoothies: Blend a scoop of the ice cream with milk, yogurt, and more dragon fruit for a refreshing and vibrant smoothie.
* Dragon Fruit Ice Cream Popsicles: Pour the ice cream mixture into popsicle molds and freeze for a cool and convenient snack.
* Spiked Dragon Fruit Ice Cream: For an adult twist, add a splash of rum or vodka to the mixture before churning. Just be mindful of the alcohol content, as it can affect the freezing process.
Don’t be afraid to experiment and get creative with your toppings and additions. The beauty of this recipe is its versatility. You can easily adapt it to suit your own taste preferences and dietary needs. For example, if you’re vegan, simply substitute the dairy milk with coconut milk or almond milk. You can also adjust the amount of sweetener to control the sugar content.
I truly believe that this Dragon Fruit Ice Cream will become a new favorite in your household. It’s a delicious, healthy, and visually stunning treat that’s perfect for any occasion. So, what are you waiting for? Gather your ingredients, dust off your ice cream maker (or use the no-churn method!), and get ready to experience the magic of dragon fruit in a whole new way.
I’m so excited for you to try this recipe! And more importantly, I’d love to hear about your experience. Did you make any variations? What toppings did you use? What did your family and friends think? Please share your photos and comments in the section below. Your feedback is invaluable, and it helps me to create even better recipes in the future. Happy ice cream making! I can’t wait to see your beautiful pink creations!
Dragon Fruit Ice Cream: A Refreshing & Healthy Summer Treat
Vibrant, refreshing homemade dragon fruit ice cream! Easy recipe using frozen dragon fruit for a creamy, naturally sweet treat.
Ingredients
- 2 cups frozen dragon fruit chunks (pink or white variety, or a mix!)
- 1 cup heavy cream
- ½ cup whole milk
- ½ cup granulated sugar (adjust to taste, depending on the sweetness of your dragon fruit)
- 1 tablespoon lemon juice
- 1 teaspoon vanilla extract (optional)
- Pinch of sea salt
- Optional toppings: fresh dragon fruit, shredded coconut, chocolate shavings, whipped cream
Instructions
- Let frozen dragon fruit chunks sit at room temperature for 5-10 minutes to soften.
- In a high-powered food processor or blender, combine dragon fruit, heavy cream, whole milk, sugar, lemon juice, vanilla extract (if using), and salt.
- Pulse to break up chunks, then blend until completely smooth and creamy. Scrape down sides as needed.
- Add more sugar to taste, blending after each addition.
- Pour into a bowl, cover with plastic wrap (pressing onto the surface), and refrigerate for at least 4 hours, or preferably overnight.
- Follow manufacturer’s instructions. Ensure the bowl is completely frozen.
- Pour chilled mixture into the ice cream maker and churn according to instructions (usually 20-30 minutes).
- The ice cream should be thick and creamy, but still soft enough to scoop easily. If it’s too soft, you can transfer it to a freezer-safe container and freeze it for a few more hours to firm it up.
- Transfer to a freezer-safe container.
- Press plastic wrap onto the surface of the ice cream.
- Freeze for at least 2-3 hours, or until firm enough to scoop.
- Let sit at room temperature for a few minutes to soften. Scoop and serve with desired toppings.
Notes
- Use high-quality ingredients for the best flavor and texture.
- Don’t over-churn the ice cream.
- Store in an airtight container in the freezer for up to 2 weeks.
- Adjust sugar to taste, as dragon fruit sweetness varies.
- For a dairy-free option, substitute the heavy cream and milk with water or coconut milk. You may need to adjust the amount of sugar to compensate for the lack of richness from the dairy.
- Experiment with flavors and add-ins like lime juice, ginger, or chopped nuts.
Printable Recipe Card
Want just the essential recipe details without scrolling through the article? Get our printable recipe card with just the ingredients and instructions.